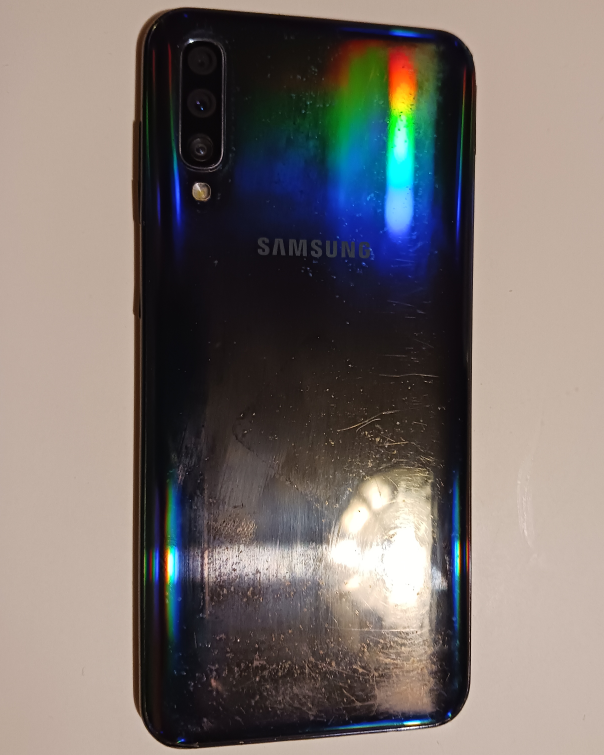
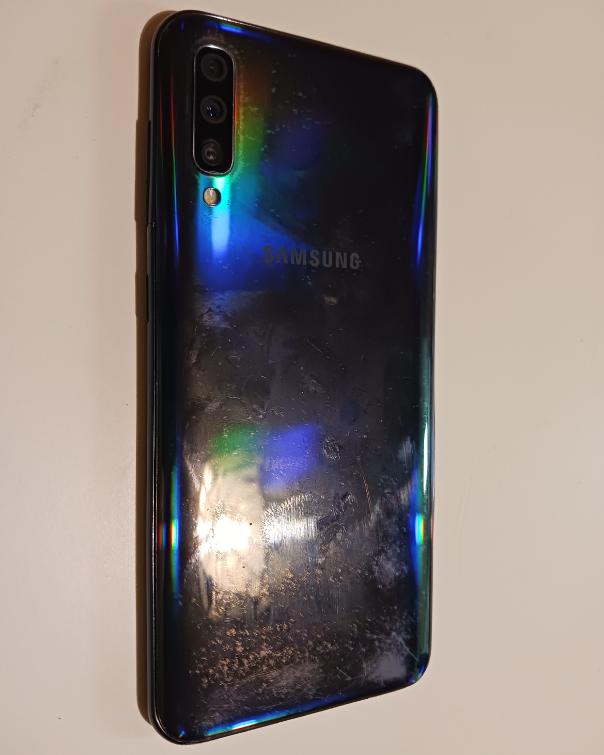
I like to repair things—especially tech stuff—on my own. My current mobile phone is a Samsung A50, which I bought in 2019. It will turn 6 years this July. Its original cost was around €180. It works pretty well, but last year I noticed a problem with the ultra-wide-angle Lens: the images taken with it it were blurry.
The solution: replace the camera module (buying a new phone would have been boring). For that, I ordered these items from Aliexpress:
- Camera module: €19.00
- Phone repair kit: €2.59 (14 tools)
- Glass screen protector: €2.86 (4 pieces)
- Phone back cover: €4.29 (a total waste of money!)
I mostly followed the instructions in iFixit for the front camera replacement, but targeted the main camera instead, using a YouTube video for guidance.
Important note: I have previously removed the back cover of my phone during a previous repair, thus this step is not shown in this post.
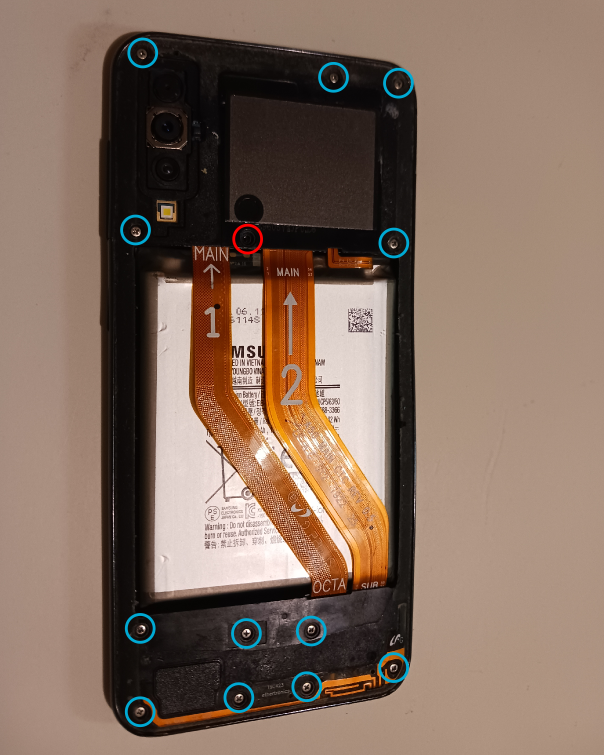
1. Open back cover and locate screws
First, remove the back cover and you will see 13 screws (in my case one is missing, the hole surrounded by the red circle).
Using the proper screwdriver, you can remove all the screws.
2. Remove midframe and identify components (just for fun)
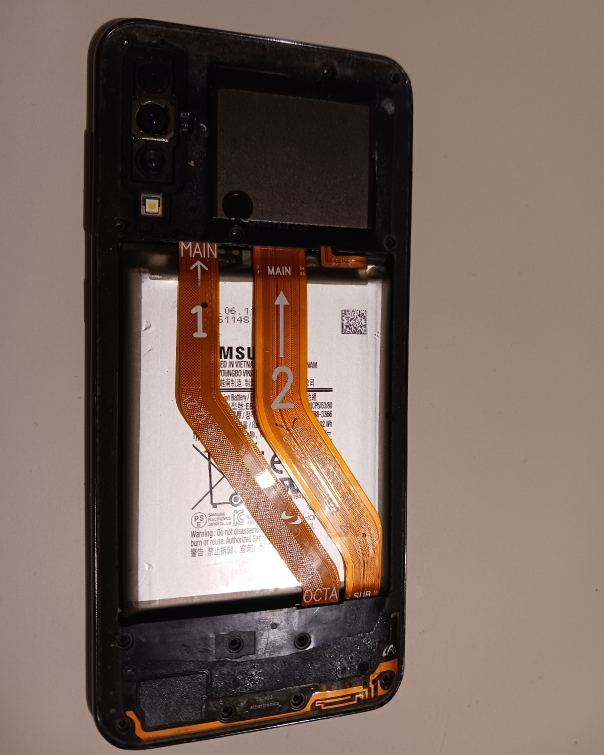
Once the screws are out, you can use the “opening pick” (blue and triangular) or the “opening tool” to remove the midframe. At this point, the phone’s internal circuits will be exposed.
I was not that careful, and the midframe got slightly damaged.
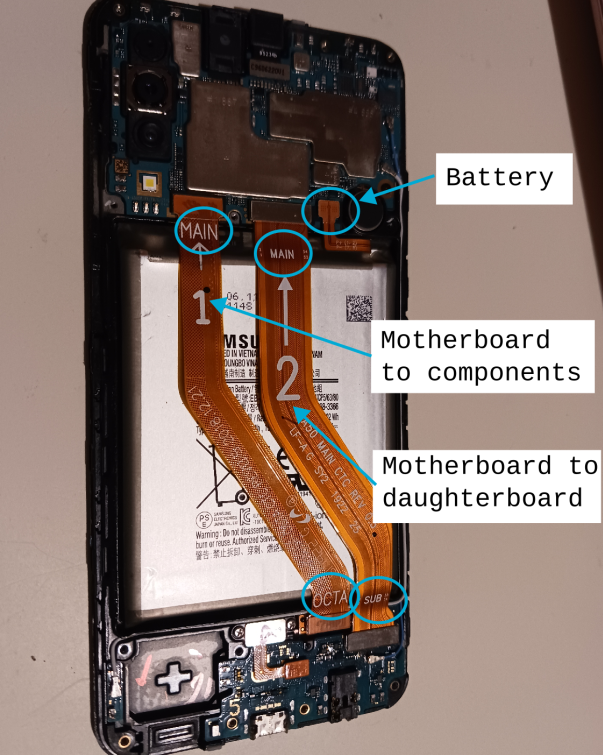
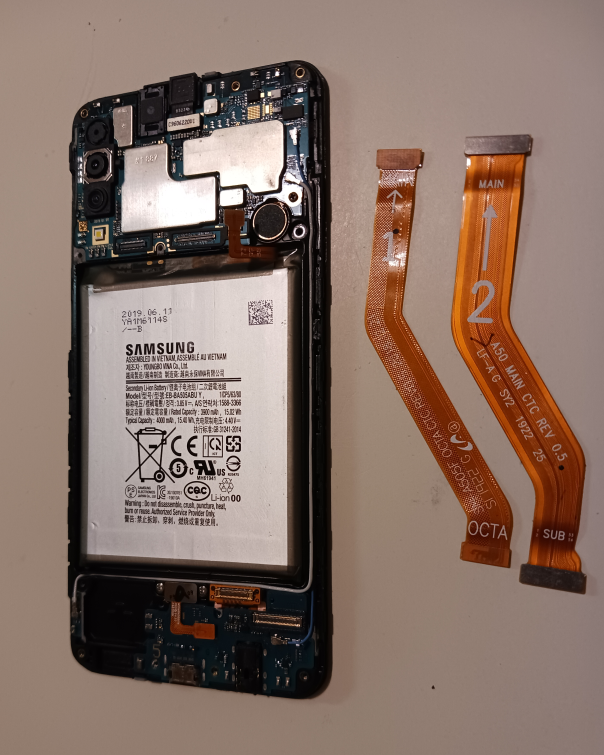
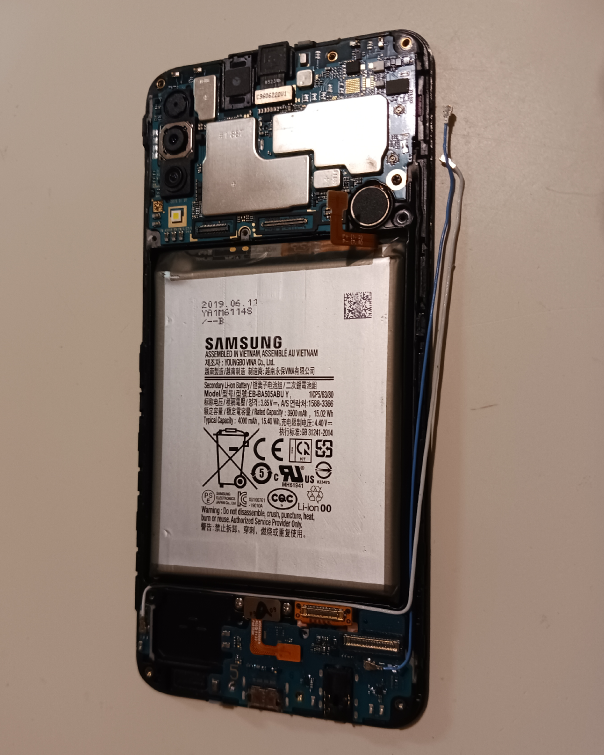
Now, you will see the flat flex cables: one for the battery, one connecting the motherboard to various components (such as the screen, microphone, vibrating motor) and one that connects the motherboard (top) to the daughterboard (bottom).
3. Remove the flat flex cables (FFC)
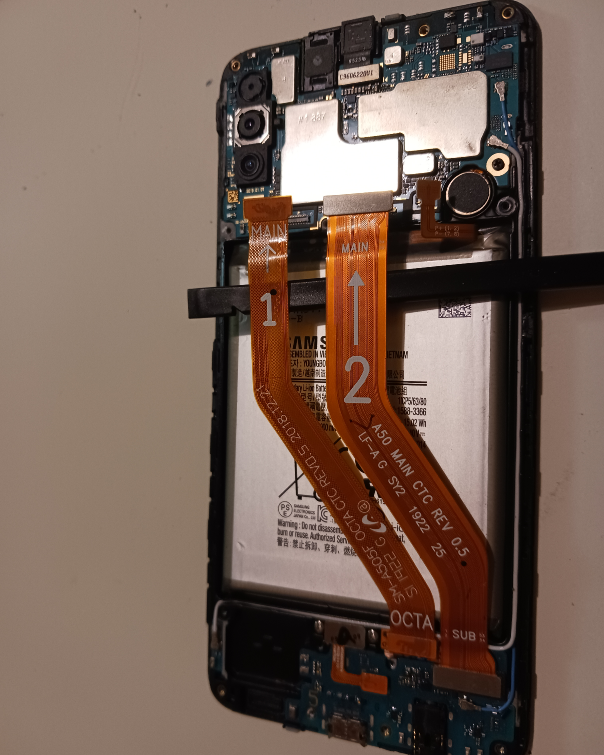
The connectors of the flex cables are held in place by pressure. You can use one of the long tools as a lever to carefully detach the cable connectors from the boards.
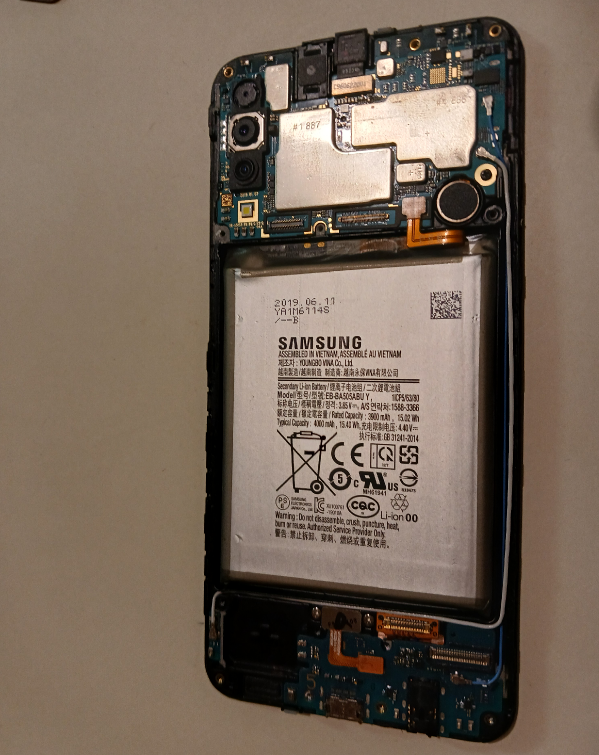
4. Remove the antennas
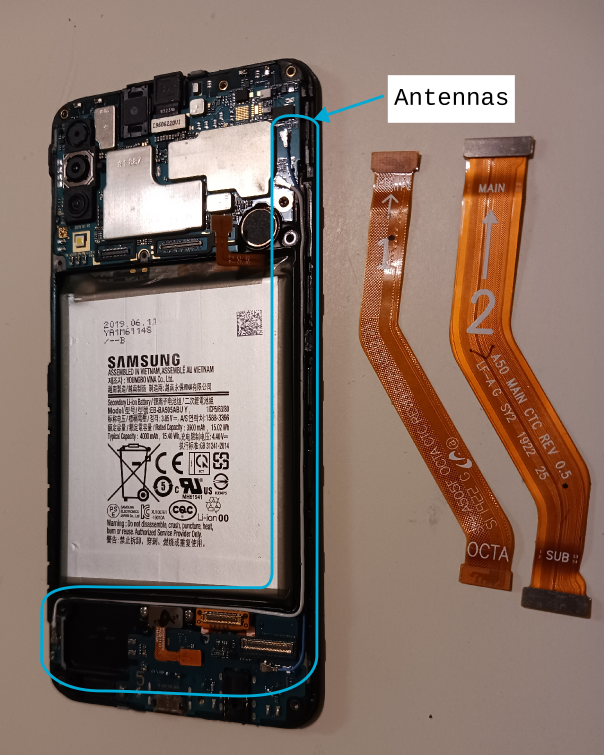
I am almost certain that these are the phones antennas (though I might be wrong). They are a bit tricky to remove, so try to be extra careful when use the long tool as a lever to detach then from the board connectors.
To replace the main camera module, you only need to disconnect the antennas from the motherboard (top one).
The picture on the right (or below on the mobile version) shows the antennas disconnected. However, the blue one is a bit stiff, thus seems like is still connected.
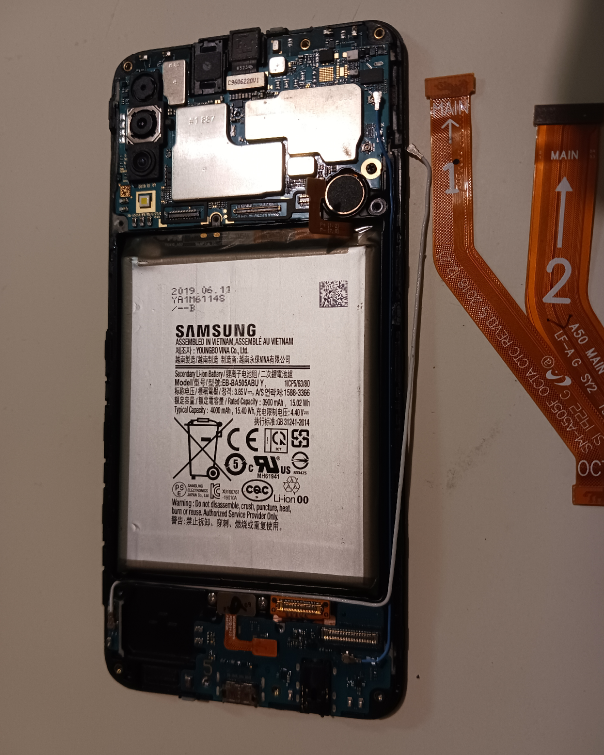
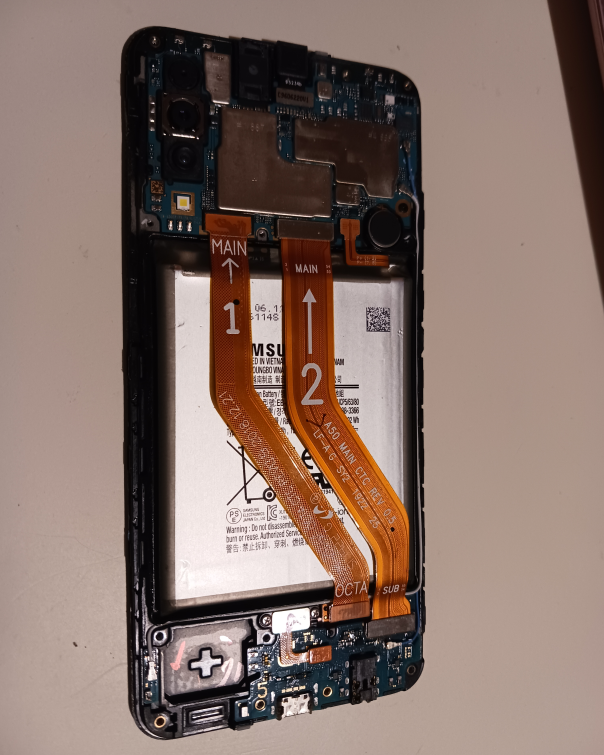
5. The motherboard
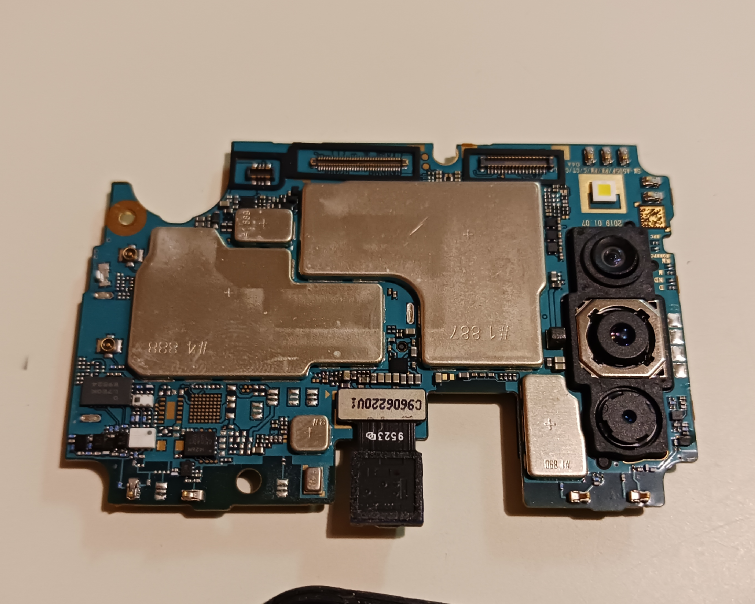
Without the screws, the motherboard comes out easily. The camera module has three lenses (on the right side of the picture). The front (selfie) camera is the one at the bottom of the picture.
The three connectors for the camera module are on the other side of the motherboard. Using a lever, you can disconnect them from the motherboard.
I did not take a picture of the other side of the motherboard.
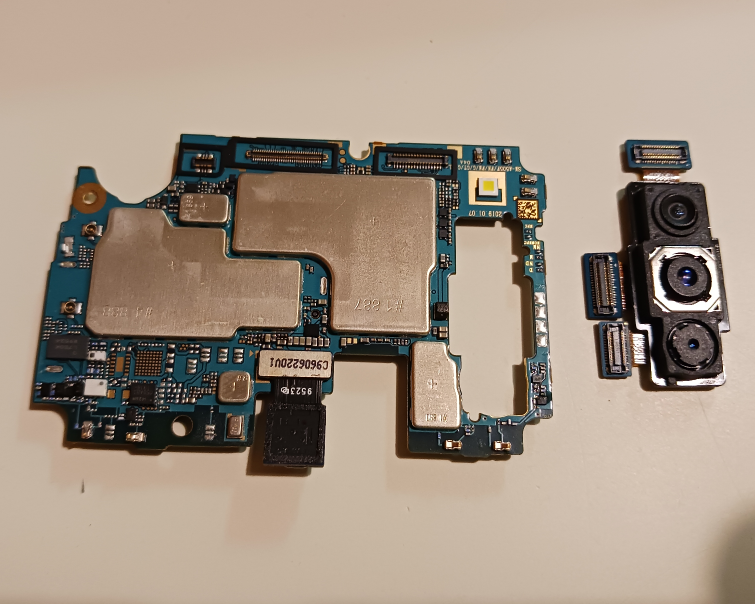
6. The camera module
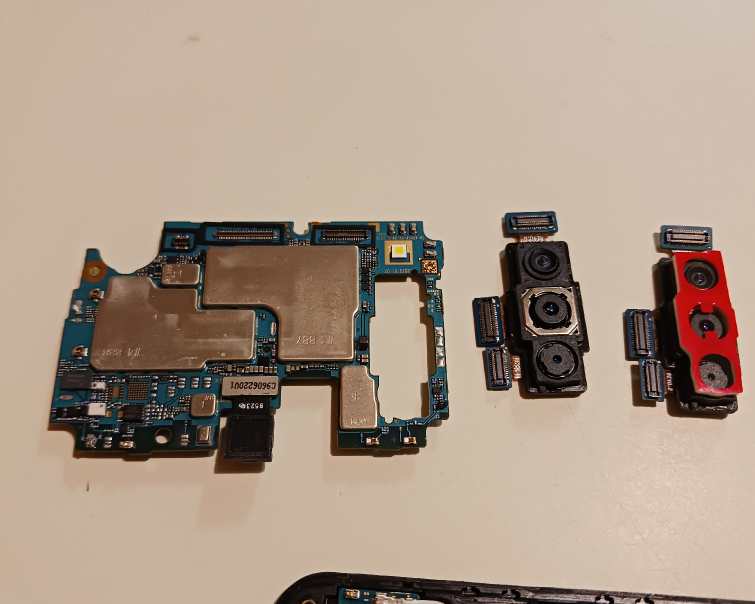
The camera module is held in place on the motherboard by pressure. You can gently push it (after disconnecting the three connectors) until it is deattached from the motherboard. In the second picture, you can see both the old camera module and the new one (with a red cover).
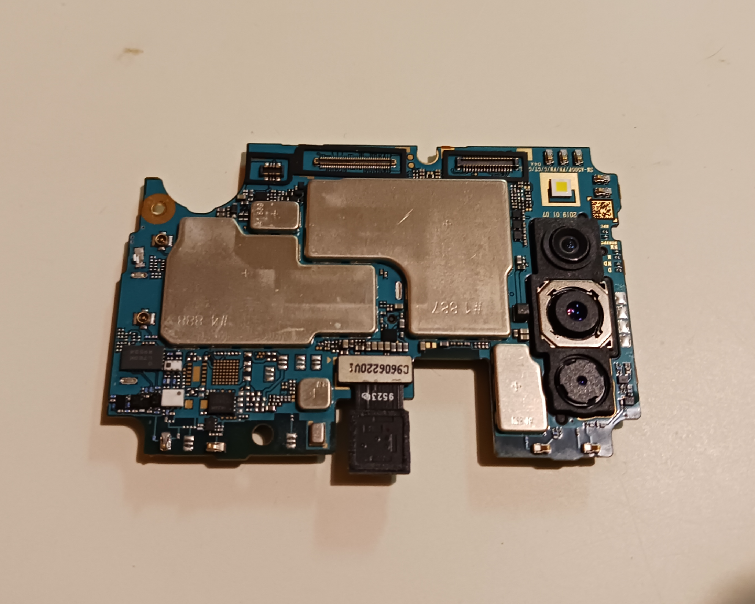
To attach the new camera module, press it against the motherboard until it is securely in place. Then, press the camera module connectors onto the motherboard connectors.
The final result should look something like this picture.
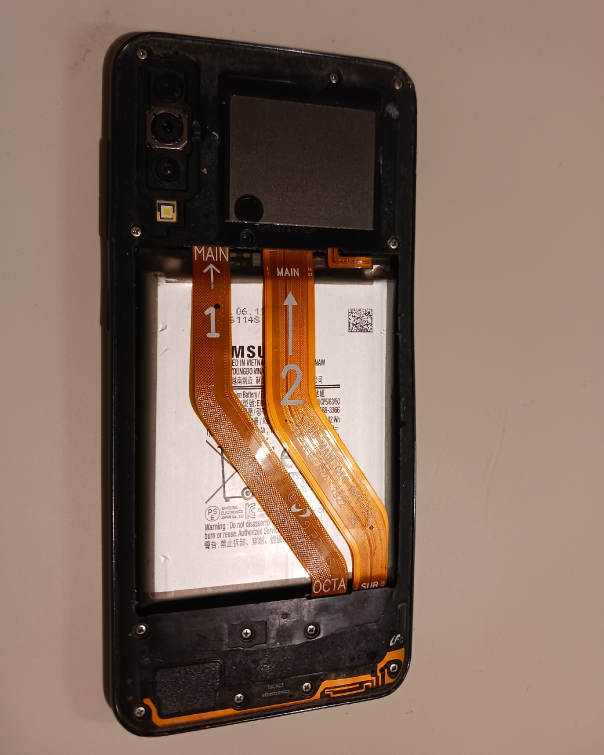
7. Reassembly
Now, you can begin reassembling the phone. First, you put the motherboard back into the phone.
Then, gently reconnect the antennas to the motherboard. Be extra careful, these connectors seem to be fragile.
Next, reconnect the flat flexible cables from the motherboard to the daughterboard. You will need to apply some pressure, so do it carefully.
Then, place the middleframe back onto the phone. You can use the “opening tool” for this if necessary. Once again, I was not very careful and I damaged the frame.

Reinstall all the screws into their corresponding holes. After this, all components should be securely in place.
Finally, place the back cover.
You should use a special glue to secure the back cover. However, since I still need to replace the phone’s battery, I left it loose for now.
8. Results
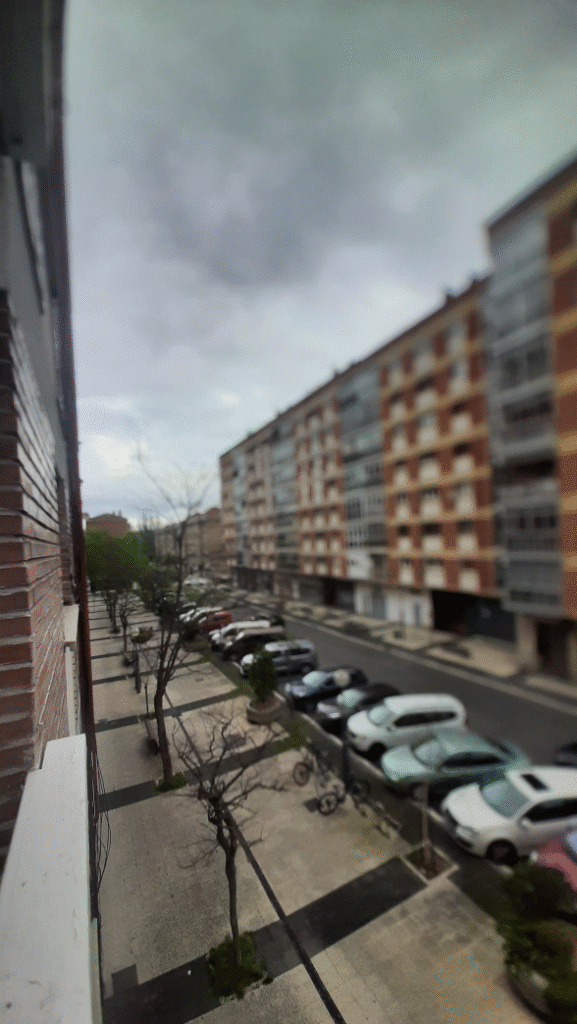
The picture on the left (or top on mobile version) was taken with the old, damaged camera module and the 0.5x zoom using the ultra-wide-angle lens: the image is blurry.
The picture on the right (or bottom on mobile version) was taken after the replacement under the same conditions: the image is now clear.

9. (optional) Testing in the field (but actually at sea)
For the field test, I travelled to Portugal and used the camera with the 0.5x zoom. In fact, the test was at sea: I took some pictures during a boat trip from Albufeira to the Benagil caves, all along the Algarve coast (left). The camera seems to be working fine.


Here’s another picture to show the results: the landscape from the Castelo dos Mouros in Sintra, near Lisboa.